Integrating Your Return Portal to Your Magento Store
Last Updated: September 27, 2025
Add your return portal to your Magento 2 store to make it easy for customers to initiate self-service return requests.
Requirements
- Enterprise plan
- Currency
- Physical Address (HQ)
- ReturnGO Plan ID (no action needed from you; the ReturnGO onboarding representative will include this as part of the implementation process)
To implement ReturnGO for Magento, please contact your sales representative.
How to Add Your Return Portal to Your Magento 2 Store
To add your return portal to your Magento 2 store:
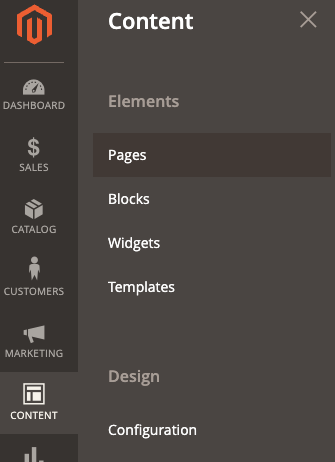
- Go to the Magento admin panel, Content > Pages.

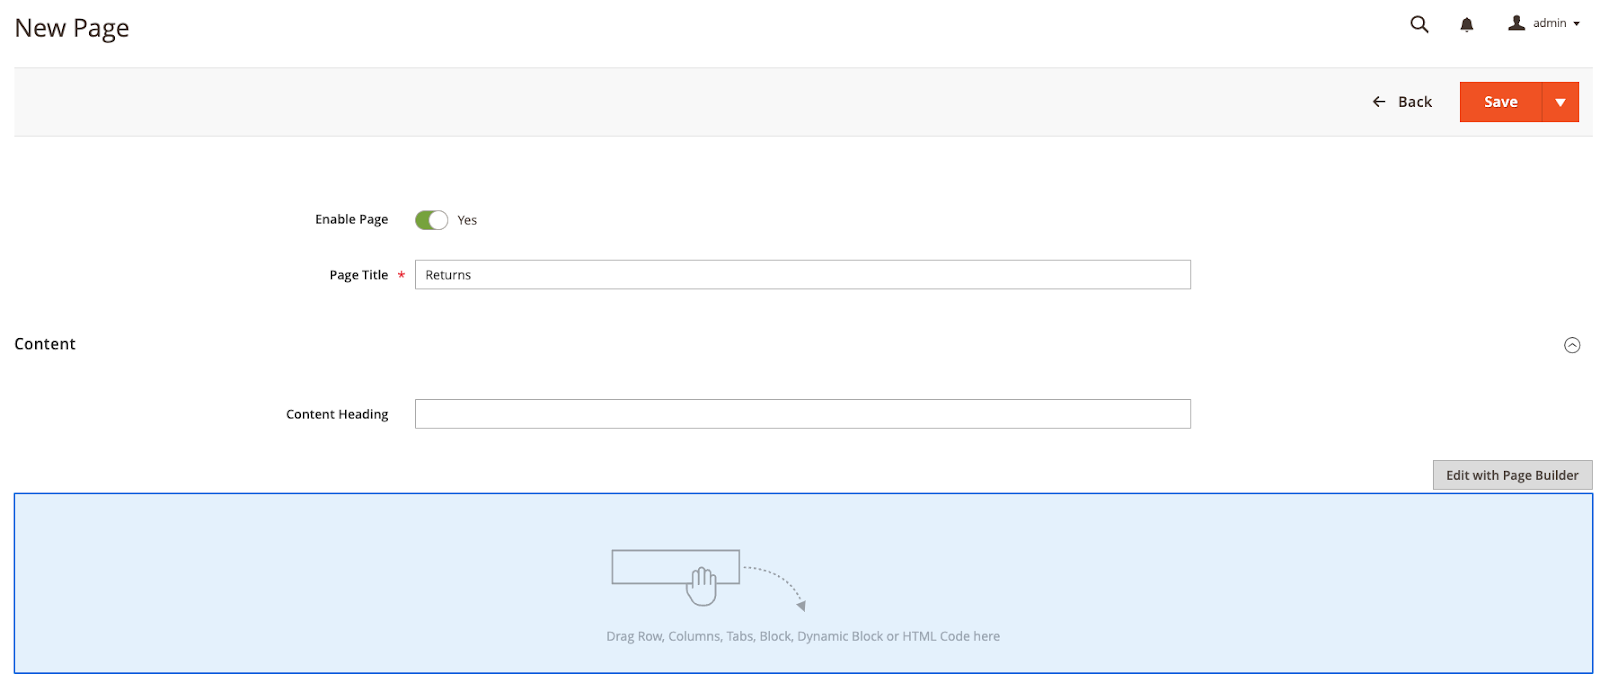
3. Under Page Title, enter the portal name, i.e returns.
4. Open the Content tab.

5. Click on Edit with Page Builder.
6. Open the Elements tab.
7. Drag the HTML Code element to add it to the return portal page.

8. Hover over the new element and click on the settings icon.

9. Add the following code to the page.
Change the data to align with your site (shop, currency, locale, etc) and remove the comments.
<script src="https://static.returngo.ai/master.returngo.ai/returngo.min.js" defer="defer"></script>

<script type="application/javascript">
window.ReturnGO = {
 shop: 'magento-test.shopname.com', //Your shop url without https://
        currency: {
            active: 'USD', //The portal currency
            rate: '1.0', //The conversion rate between you portal currency and your main store currency, if they are different
        },
        locale: 'en', //The locale to display
};
</script>

<div id="ReturnGOPortalEmbedding" style="position: relative; display:block; min-height: 600px; background-color: #FFFFFF"></div>
10. Save the new element.
11. Go back to the Page Editor page by clicking on the minimize icon at the top right.
12. Save the return portal page.
13. Go back to the pages list.
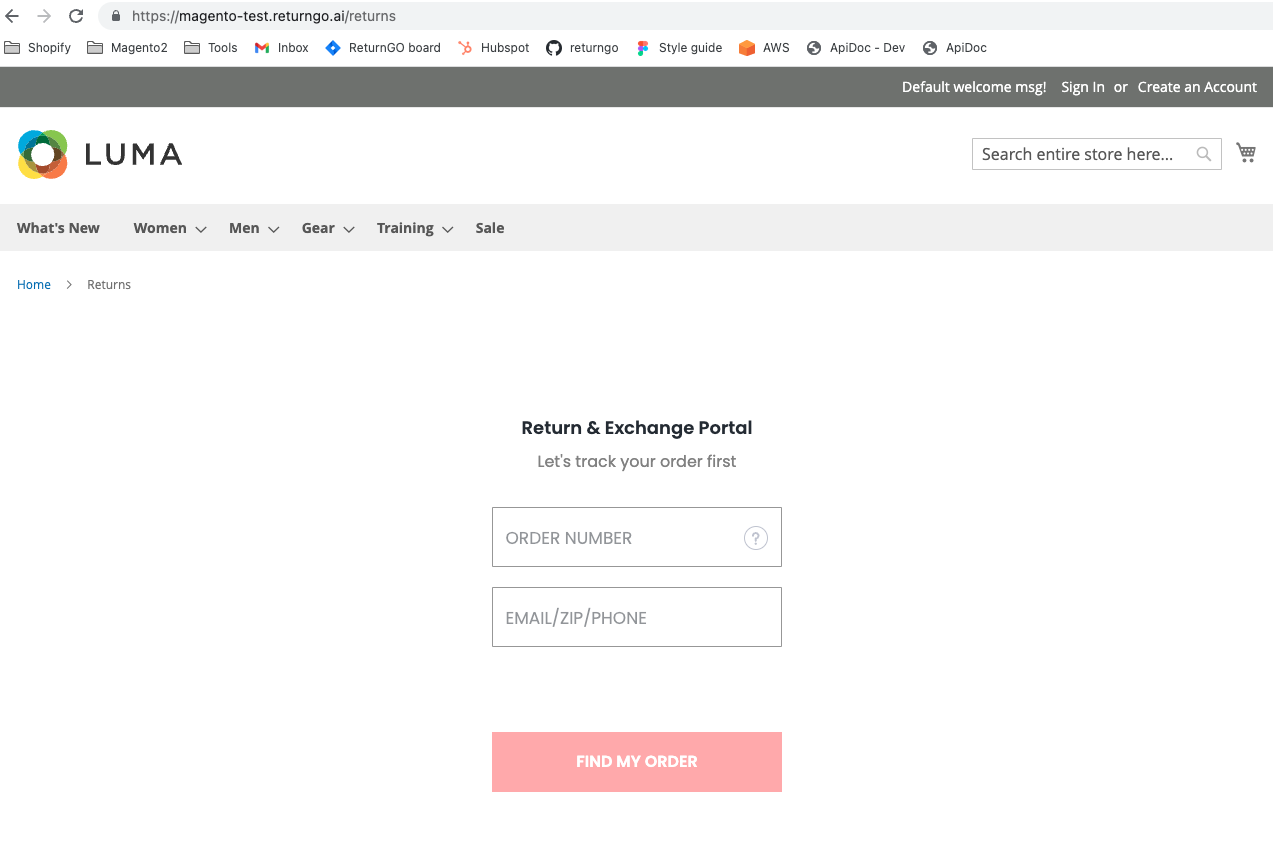
14. Your return portal will now be available under <store url>/<URL Key>.

