Remove the ReturnGO logo from your return portal to make it a white label portal. This helps provide a fully-branded, consistent experience for your customers.

Requirements
This feature is included in the Pro and Enterprise plans and is available as an add-on.
To enable the White Label Portal add-on, you'll need to meet the following requirements:
- Admin or owner user role permissions on ReturnGO.
- Store owners and staff with View Billing and Receive Billing Emails permissions on Shopify.
- The ReturnGO free trial has ended.
How to White-Label Your Portal
To remove the ReturnGO branding from your portal:
-
Click the account icon in the top-right corner of your ReturnGO dashboard.
- Click on STORE ACCOUNT.

- In the Manage Add-Ons section, enable the toggle next to the White Label Portal add-on.
- Click UPDATE BILLING.

- In the Add-Ons Summary dialog box, review the new monthly billing, then click APPROVE BILLING. You will be redirected to Shopify.

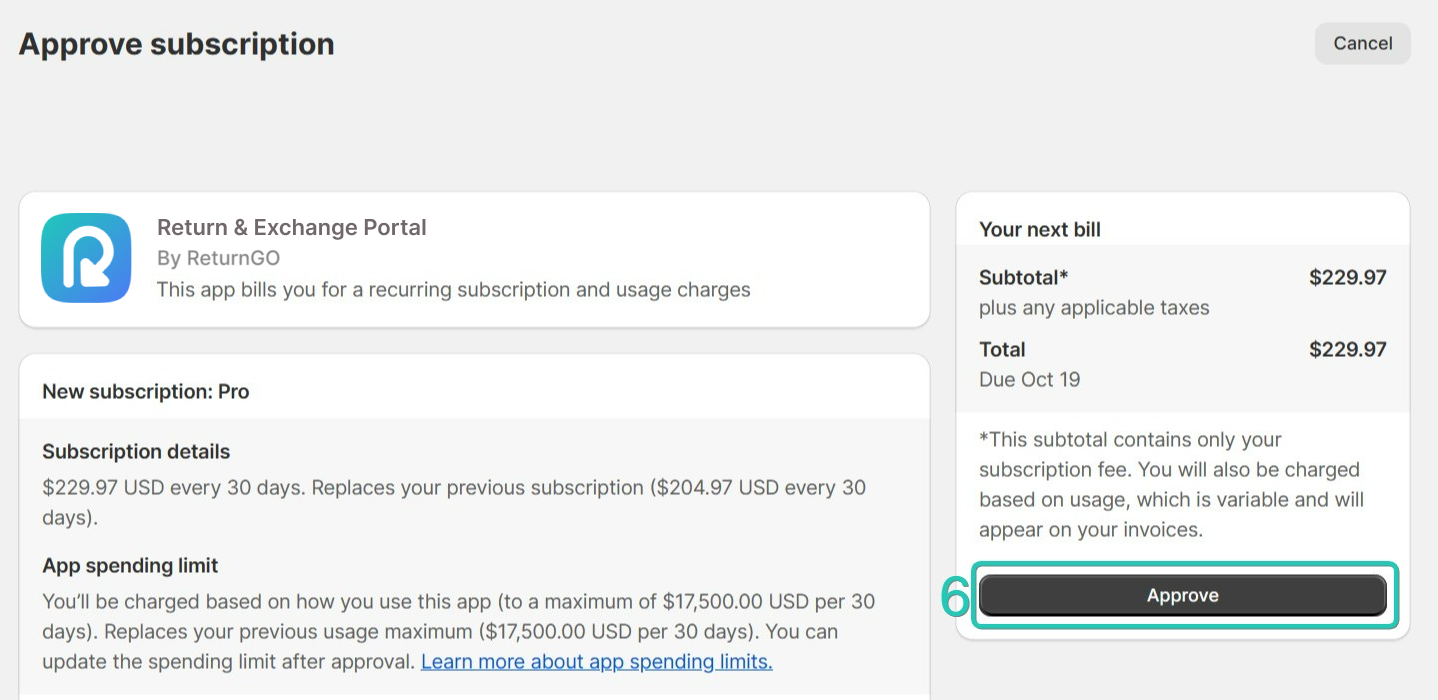
- In the Shopify Approve Subscription page, click APPROVE.